https://www.fix.com/blog/how-to-grow-hops-for-beer/
As the home brewing scene sweeps the nation, there is a powerful quieter wave following it: growing your own hops. Die-hard home brewers are taking their hobby to the next level by getting into the cultivation of hops, one of the core elements of quality craft beer.
While growing hops isn’t for the faint of heart, it’s certainly not as hard as it’s made out to be by both brewers and gardeners alike. In this article, we’ll take a look at the most popular types of hops for brewing beer, how to cultivate hops at home from start to finish, and some of the signature flavors that different types of hops impart to a finished bottle of delicious
craft brew.
While there are dozens of different types of hops, all with their own unique characteristics making them prized varieties for brewing, there are a few standout cultivars that brewers around the world use:
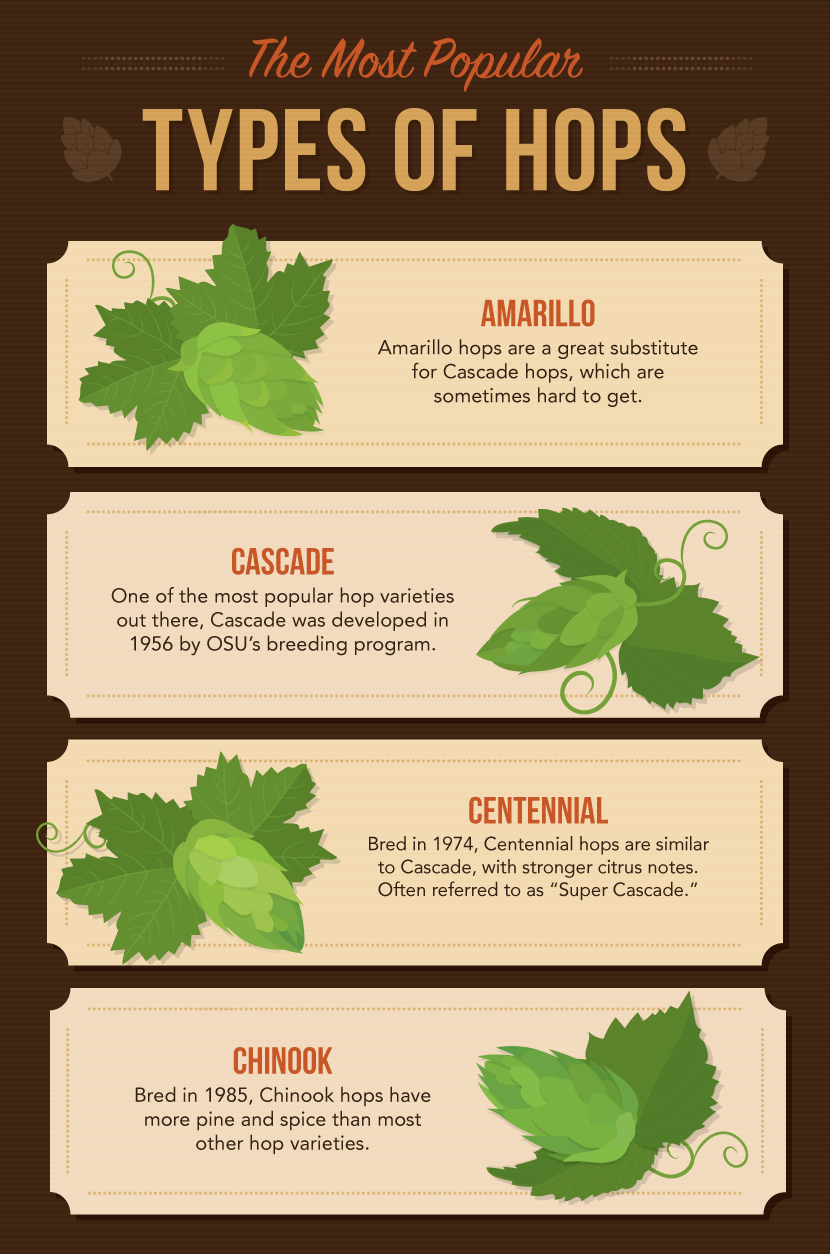
Amarillo
Amarillo hops are so popular that larger brewers actually buy up the production quotas for commercial hop growers years in advance to lock down a supply. Growing Amarillo hops yourself allows you to bypass the incredibly high commercial demand for this hop variety.
Amarillo hops are prized for their flowery aroma with light citrus notes. They have a medium bittering value, making them a versatile hop to use in many different styles of beer.
Cascade
Cascade hops are a staple of American craft beer. They were developed in the mid-1950s by the OSU breeding program, perfected, and then released for wider cultivation in the early 1970s.
These hops have a similar aroma and flavor to Amarillo hops, but with the addition of spicy and grapefruit notes, which make them a popular and unique choice for home brewing.
Centennial
Centennial hops are a relatively new cultivar, having been released in 1990 by a couple of breeders. They’re best described as a combination of Cascade hops and Chinook hops (covered below). The best way to describe the flavors and aromas of Centennial hops is to imagine Cascade hops “on steroids.” There’s a reason that Centennial hops are referred to as “Super Cascade,” after all!
Chinook
Chinook hops have the most earthy and natural aroma and flavor, imparting both spice and pine to the beers in which they’re used. They’re fast becoming a favorite of small-scale microbreweries and home brewers alike for their unique flavors and alpha acid content.
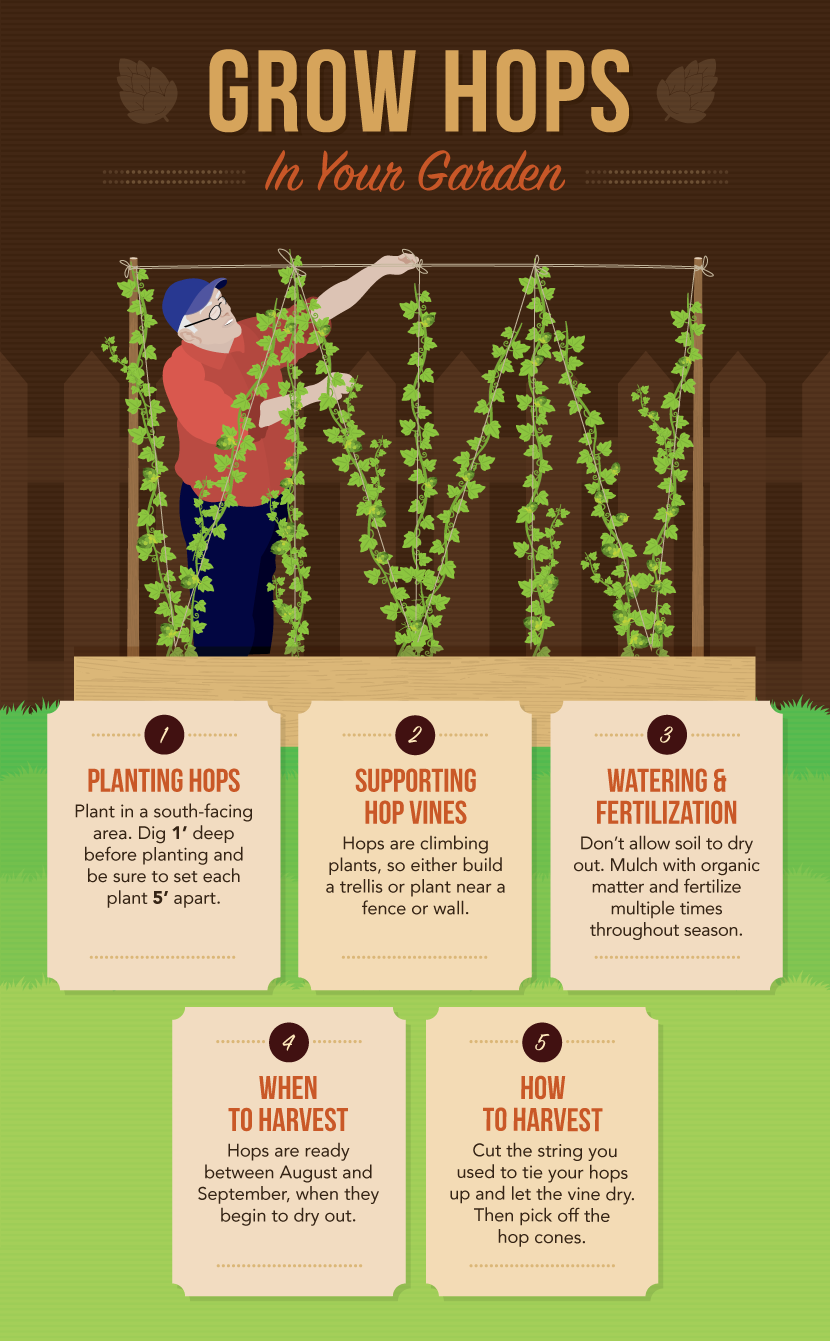
If you’re used to growing more traditional plants, starting to grow hops may be a shock to your system. Unlike many plants, hops are climbers and require extensive trellises for best results.
When planting hops, it’s important to plant in a south-facing area. Be sure to dig at least 12” deep before you plant them and leave ample space between each individual plant (about 5’ or so).
Because hops are climbing plants, you need to plant them near a fence or wall, or construct a trellis system so they can climb properly. Many growers have success with a trellis system that connects each trellis to the next by string, twine, or wire at the top of each individual trellis.
Hops do not like dry soil, so be sure to keep it moist as often as possible. For best results, mulch with organic matter for moisture retention and some added nutrition. Be sure to fertilize liberally throughout the season as well, as hops are relatively heavy feeders.
Hops are ready to harvest between August and September, when the vines begin to dry out.
To determine if your hops are ready to harvest, pick a few of the cones off your plants and rub them between your fingers. If they feel dry and papery, they’re probably good to go. Another marker of ripeness is when your hop cones have a classic hoppy aroma as opposed to a more grassy scent.
If you have determined your hops are ready to harvest, go ahead and cut them down off your trellises and lay the vines out. Let the vines dry and then pick off the hop cones by hand. This can take some time, but it’s worth it – hops take a lot of effort to grow, so harvesting them correctly is important!
Hops must be dry before they’re stored, otherwise mold and bacteria can run rampant on your crop and decimate it. After you’re sure your hop cones are completely dry, you can store them in airtight plastic bags and freeze them. For best results, use a vacuum sealer to be sure that as little air as possible is in the bags. Tape the bags shut, label them with the cultivar and harvest date, and then store them in the freezer.
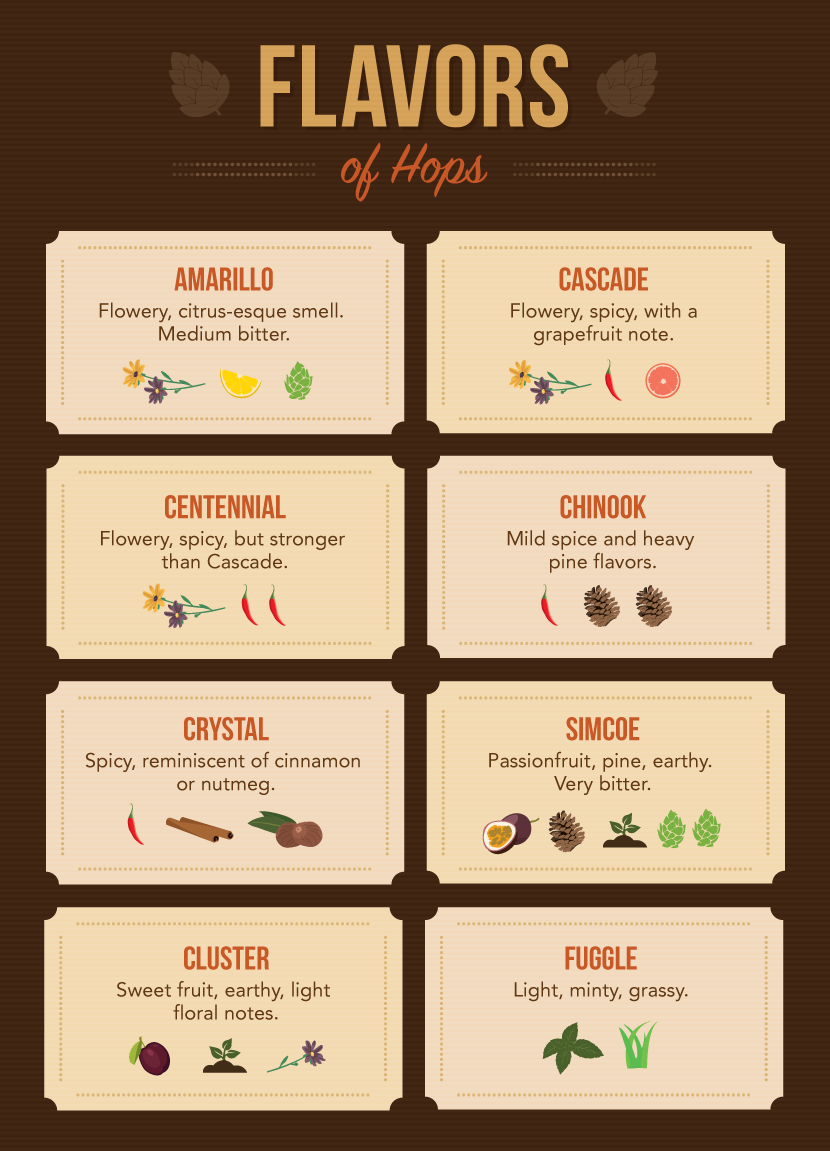
While we covered the four most popular types of hops and their aromas, we haven’t talked about the types of flavors that these hops (and more) impart when used to brew a batch of beer. Here’s a quick flavor guide you can use to determine which hop cultivar you want to grow, based on the flavors it will add to your home brew:
Amarillo – Flowery, citrus smell. Medium bitter. Used in quite a few IPAs and pale ales.
Cascade – Flowery, spicy, with a grapefruit note. The quintessential American hop. Can be used in just about any type of beer you want to brew.
Centennial – Flowery, spicy, but stronger than Cascade. Can be used in many different styles, but is especially favored in IPAs due to the strength of its flavors.
Chinook – Mild spice and heavy pine flavors. A versatile hop used in some of the most popular craft beers in America, from Stone to Sierra Nevada.
Crystal – Spicy, reminiscent of cinnamon or nutmeg. Used in red ales and IPAs primarily.
Simcoe – Passionfruit, pine, earthy. Very bitter. Used for a classic hoppy flavor in IPAs, American Ales, and Double IPAs.
Cluster – Sweet fruit, earthy, light floral notes. Fantastic for heavy beers like porters and stouts, though it can also be used if you want to brew a lighter ale.
Fuggle – Light, minty, grassy. A good choice for porters, nut browns, and bitters. It’s an exceptionally popular hop for English style ales as well.
Now that you’re equipped with the knowledge to both select the right type of hop for your brew and grow it successfully, why not give growing hops a try? A successful crop of hops can take your craft brewing hobby to an entirely new level and give you an appreciation of all the little elements that go into making this delicious drink we call beer.
Embed the article on your site